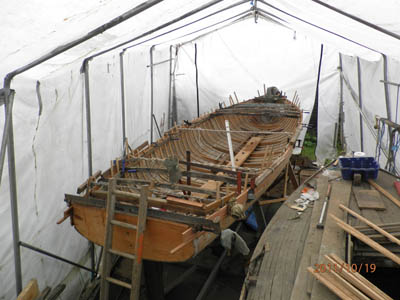
It was time to fit the Rubbing Strips and Top Planks that we had prepared earlier. Handling was the dangerous bit. Having had one disaster through trying to bend one plank too far, Keith and I were now far more careful handling these 21ft planks!
The Rubbing Strips were fairly easy as they were thinner and formed to the shape of the hull as they were offered up. They are then nailed to the plank below along the whole length.
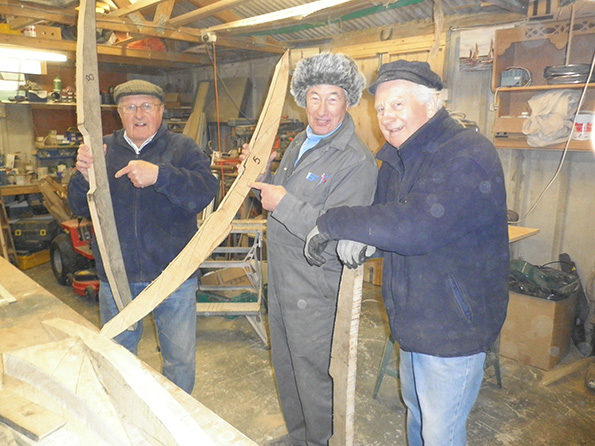
The Top Planks were a different matter. These are tapered at each end. The old planks had been used as patterns and the finished shape is something like a strip of a banana skin, 21 ft long. Fitting them entailed bending the plank around the horizontal curvature of the boat and also pulling it down at the ends to fit flush with the rubbing strip.
Fortunately, we had many G-Clamps available and these were used to clamp the plank to the ribs in position prior to riveting. We did this very gradually to avoid putting too much stress on the plank. We started at the bow where the plank was trimmed to fit into the new stem and then riveting to each of the ribs commenced.
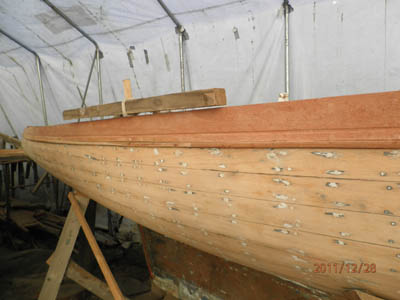
The intention is to finally finish the top planks as a varnished wood feature rather than painting them. The rivet holes need to be blanked off with matching wooden plugs. The plugs would be made out of scrap cut-offs from the plank and we had to make sure we had the right tools to cut out the blanks and to drill the right sized holes. We had a bit of practice on some scrap wood which seemed to go alright so we cracked off with the riveting.
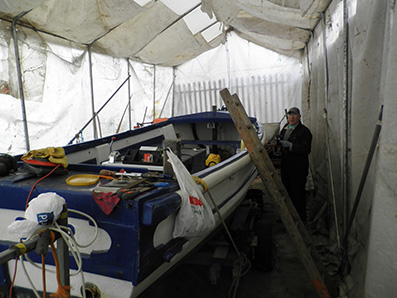
At the stern of a COD the hull shape turns in at the top (called ”Tumblehome” for some reason!) and this puts yet another axis to which the plank has to bend to fit. Again, we didn’t want to force it so we put clamps and a tourniquet on each side, and gradually tightened them over a few days, persuading them into position before riveting to the ribs and nailing to the transom.
The blanking operation seems to work well. We almost mass-produced them on the pillar drill, dip them in varnish to seal them before tapping them into each hole to cover the rivet head (making sure the grain is in line with the plank). The bit sticking out is chiselled off and then it’s sanded to finish. Finished job looks OK — can’t wait to get the varnish on!